Teach your child to tie shoe laces.
Make your own shoe lace practice board.
DIY Shoe Tying Practice Board
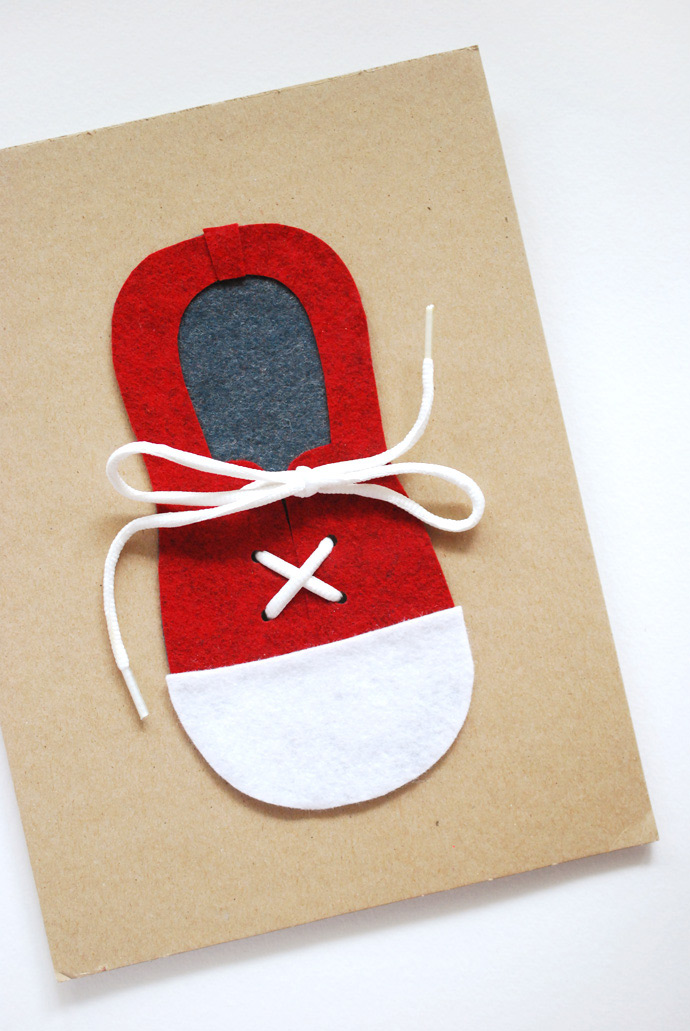
.
What You Need
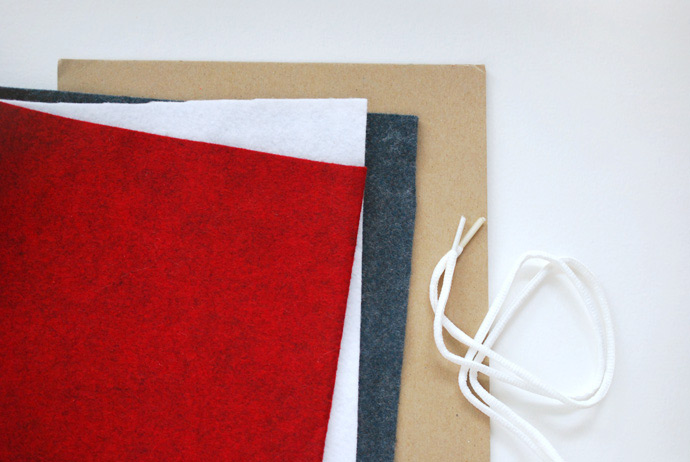
- Cardboard (a recycled cereal box works great!)
- Felt
- Shoelace (about 30 inches)
- Scissors
- Craft glue
- Punching tool
- Shoe Tying Practice Template
How To
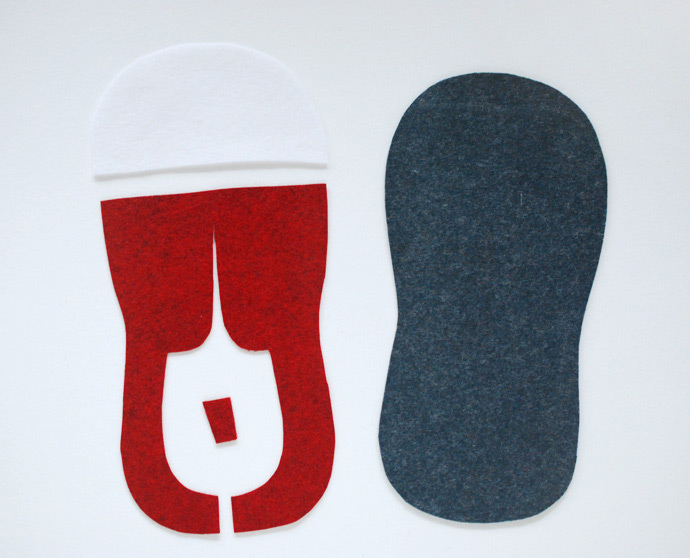
Step 1
Use the templates to cut out the pieces from felt. Cut the base from a dark color, the toe from white, and the remaining pieces from your child’s favorite color.
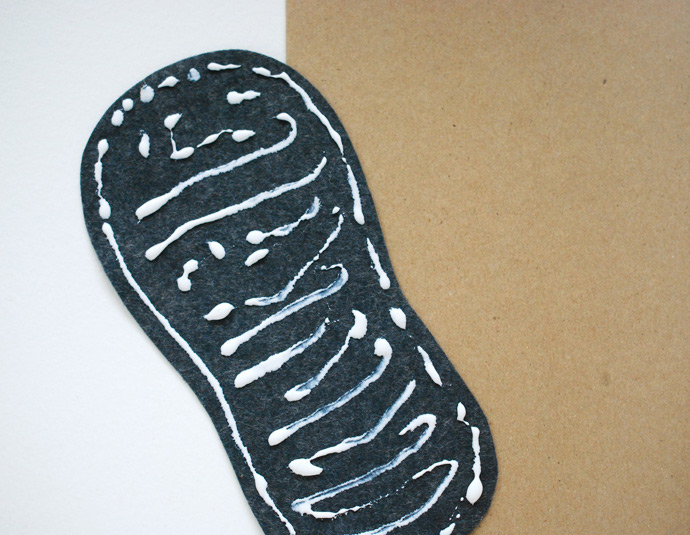
Step 2
Spread some glue on the back of the base of the shoe. Center it on the cardboard and smooth it out.
Step 3
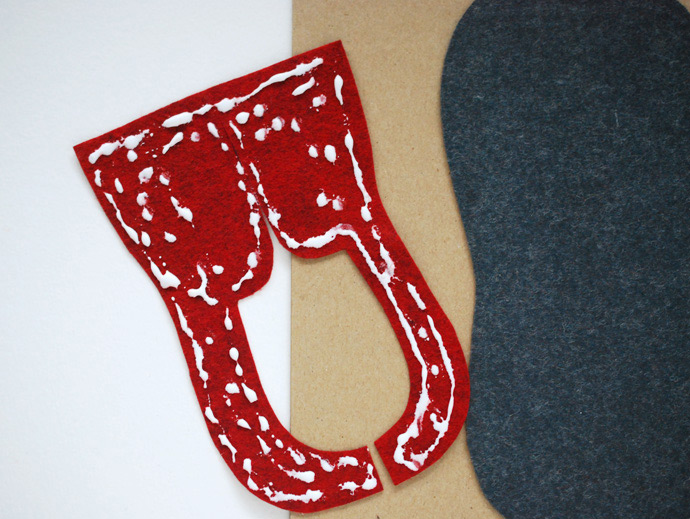
Spread glue on the back of the shoe’s upper, but don’t put too much glue where the laces will go through. Place the upper on the base of the shoe.
Because of the opening, this piece can be a little floppy. It may help to have an extra set of hands helping you!
Glue the toe piece in place at the front of the shoe.
Step 4
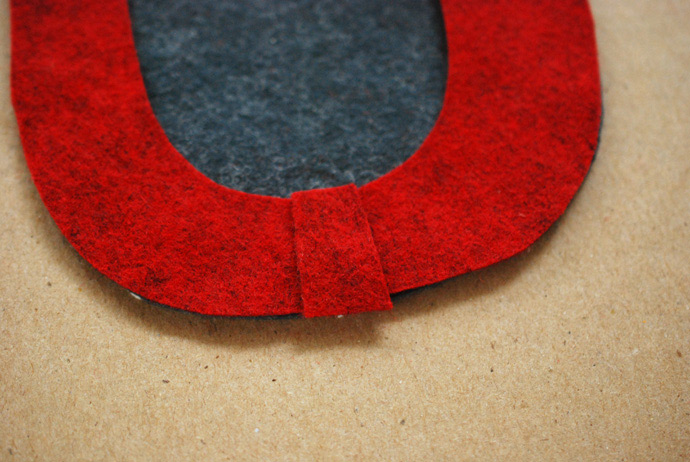
Attach the extra tab at the back of the shoe, covering the cut part.
Step 5
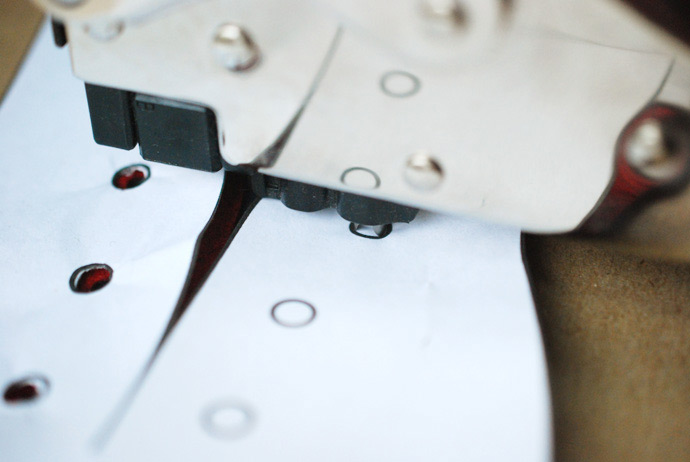
Make sure that the glue has dried, then lay the template over the main part of the shoe. Use a punching tool to make holes for the laces.
If you don’t have a punch that will go through cardboard and felt, try a large needle to start the hole. Then gently work a screwdriver or nail through to enlarge the hole.
Step 6
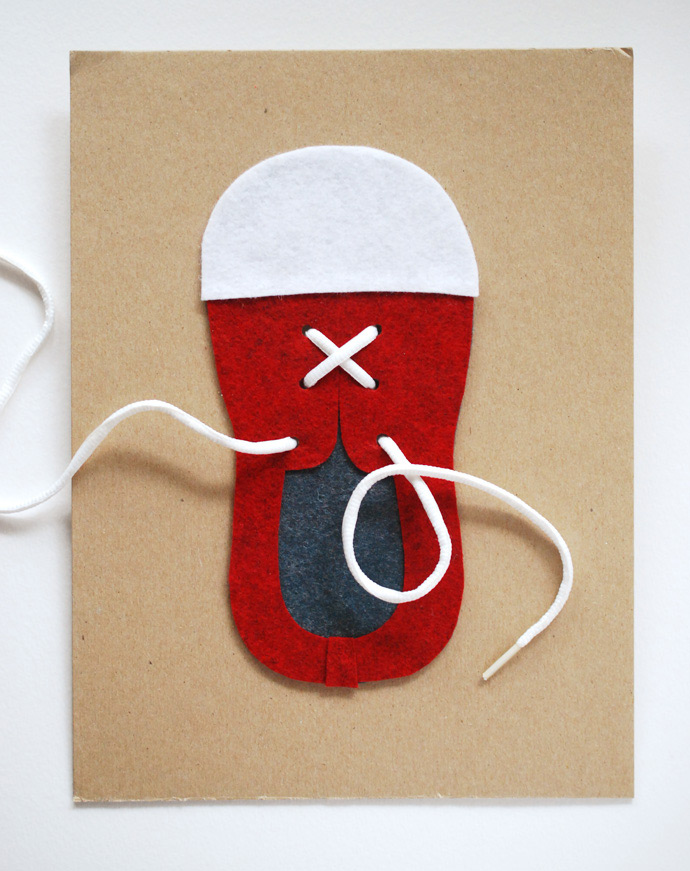
Lace the shoelace through the holes and you’re ready for some tying practice!
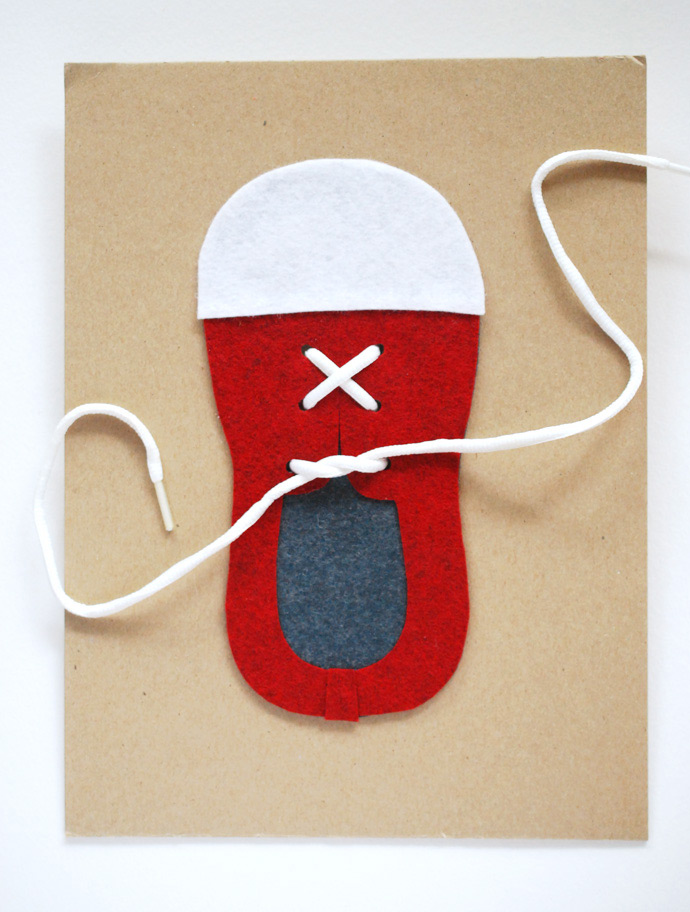
Cross the laces and bring one under the other. Pull it tight!
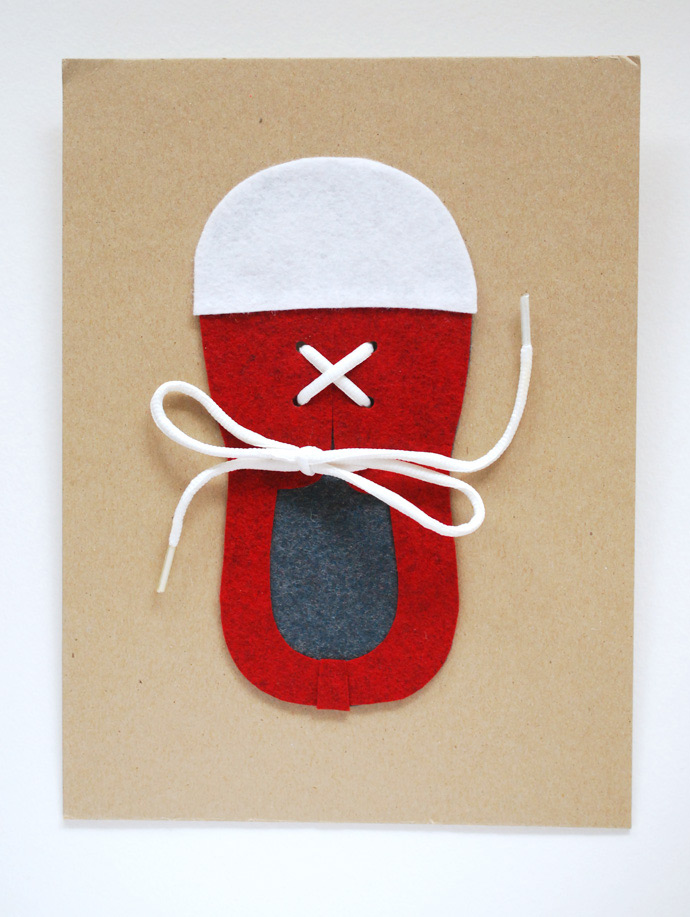
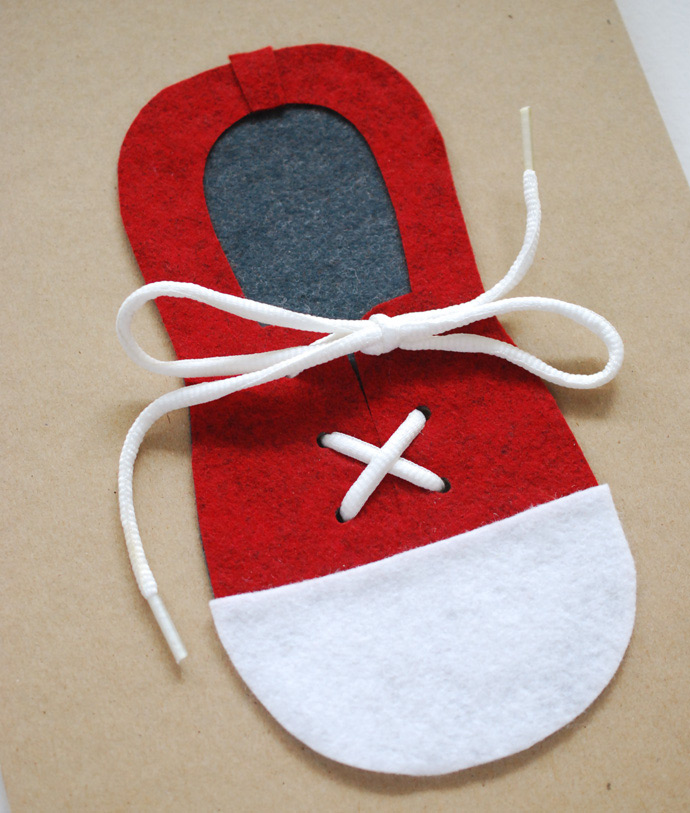
And here’s where you get to choose what method of shoe-tying you want to teach your child. Are you tying two rabbit ears together?
Is there chasing around and jumping in a hole? Or maybe you have another favorite way! Whatever gets the job done will work .
CR :: www.handmadecharlotte.com
